Soldering flippers
Previous week I set up a very basic playfield, with only flippers on it. Unfortunately the flippers did not work, since no cables were connected to the flippers. Todays target: soldering power cables to the flipper coils, and make a nice demo video showing the ‘hard’ work so far.
I never did any soldering before. To understand the soldering, I had a look at several Youtube videos. Most of the videos explaining basic soldering techniques. One video worth sharing is Ray’s Pinball Tech Tips #5: Flippers!. This video shows how to rework flippers in an existing pinball machine. The video also shows how to apply the soldering in a very down-to-earth manner (it’s easy!).
Showing today’s outcome
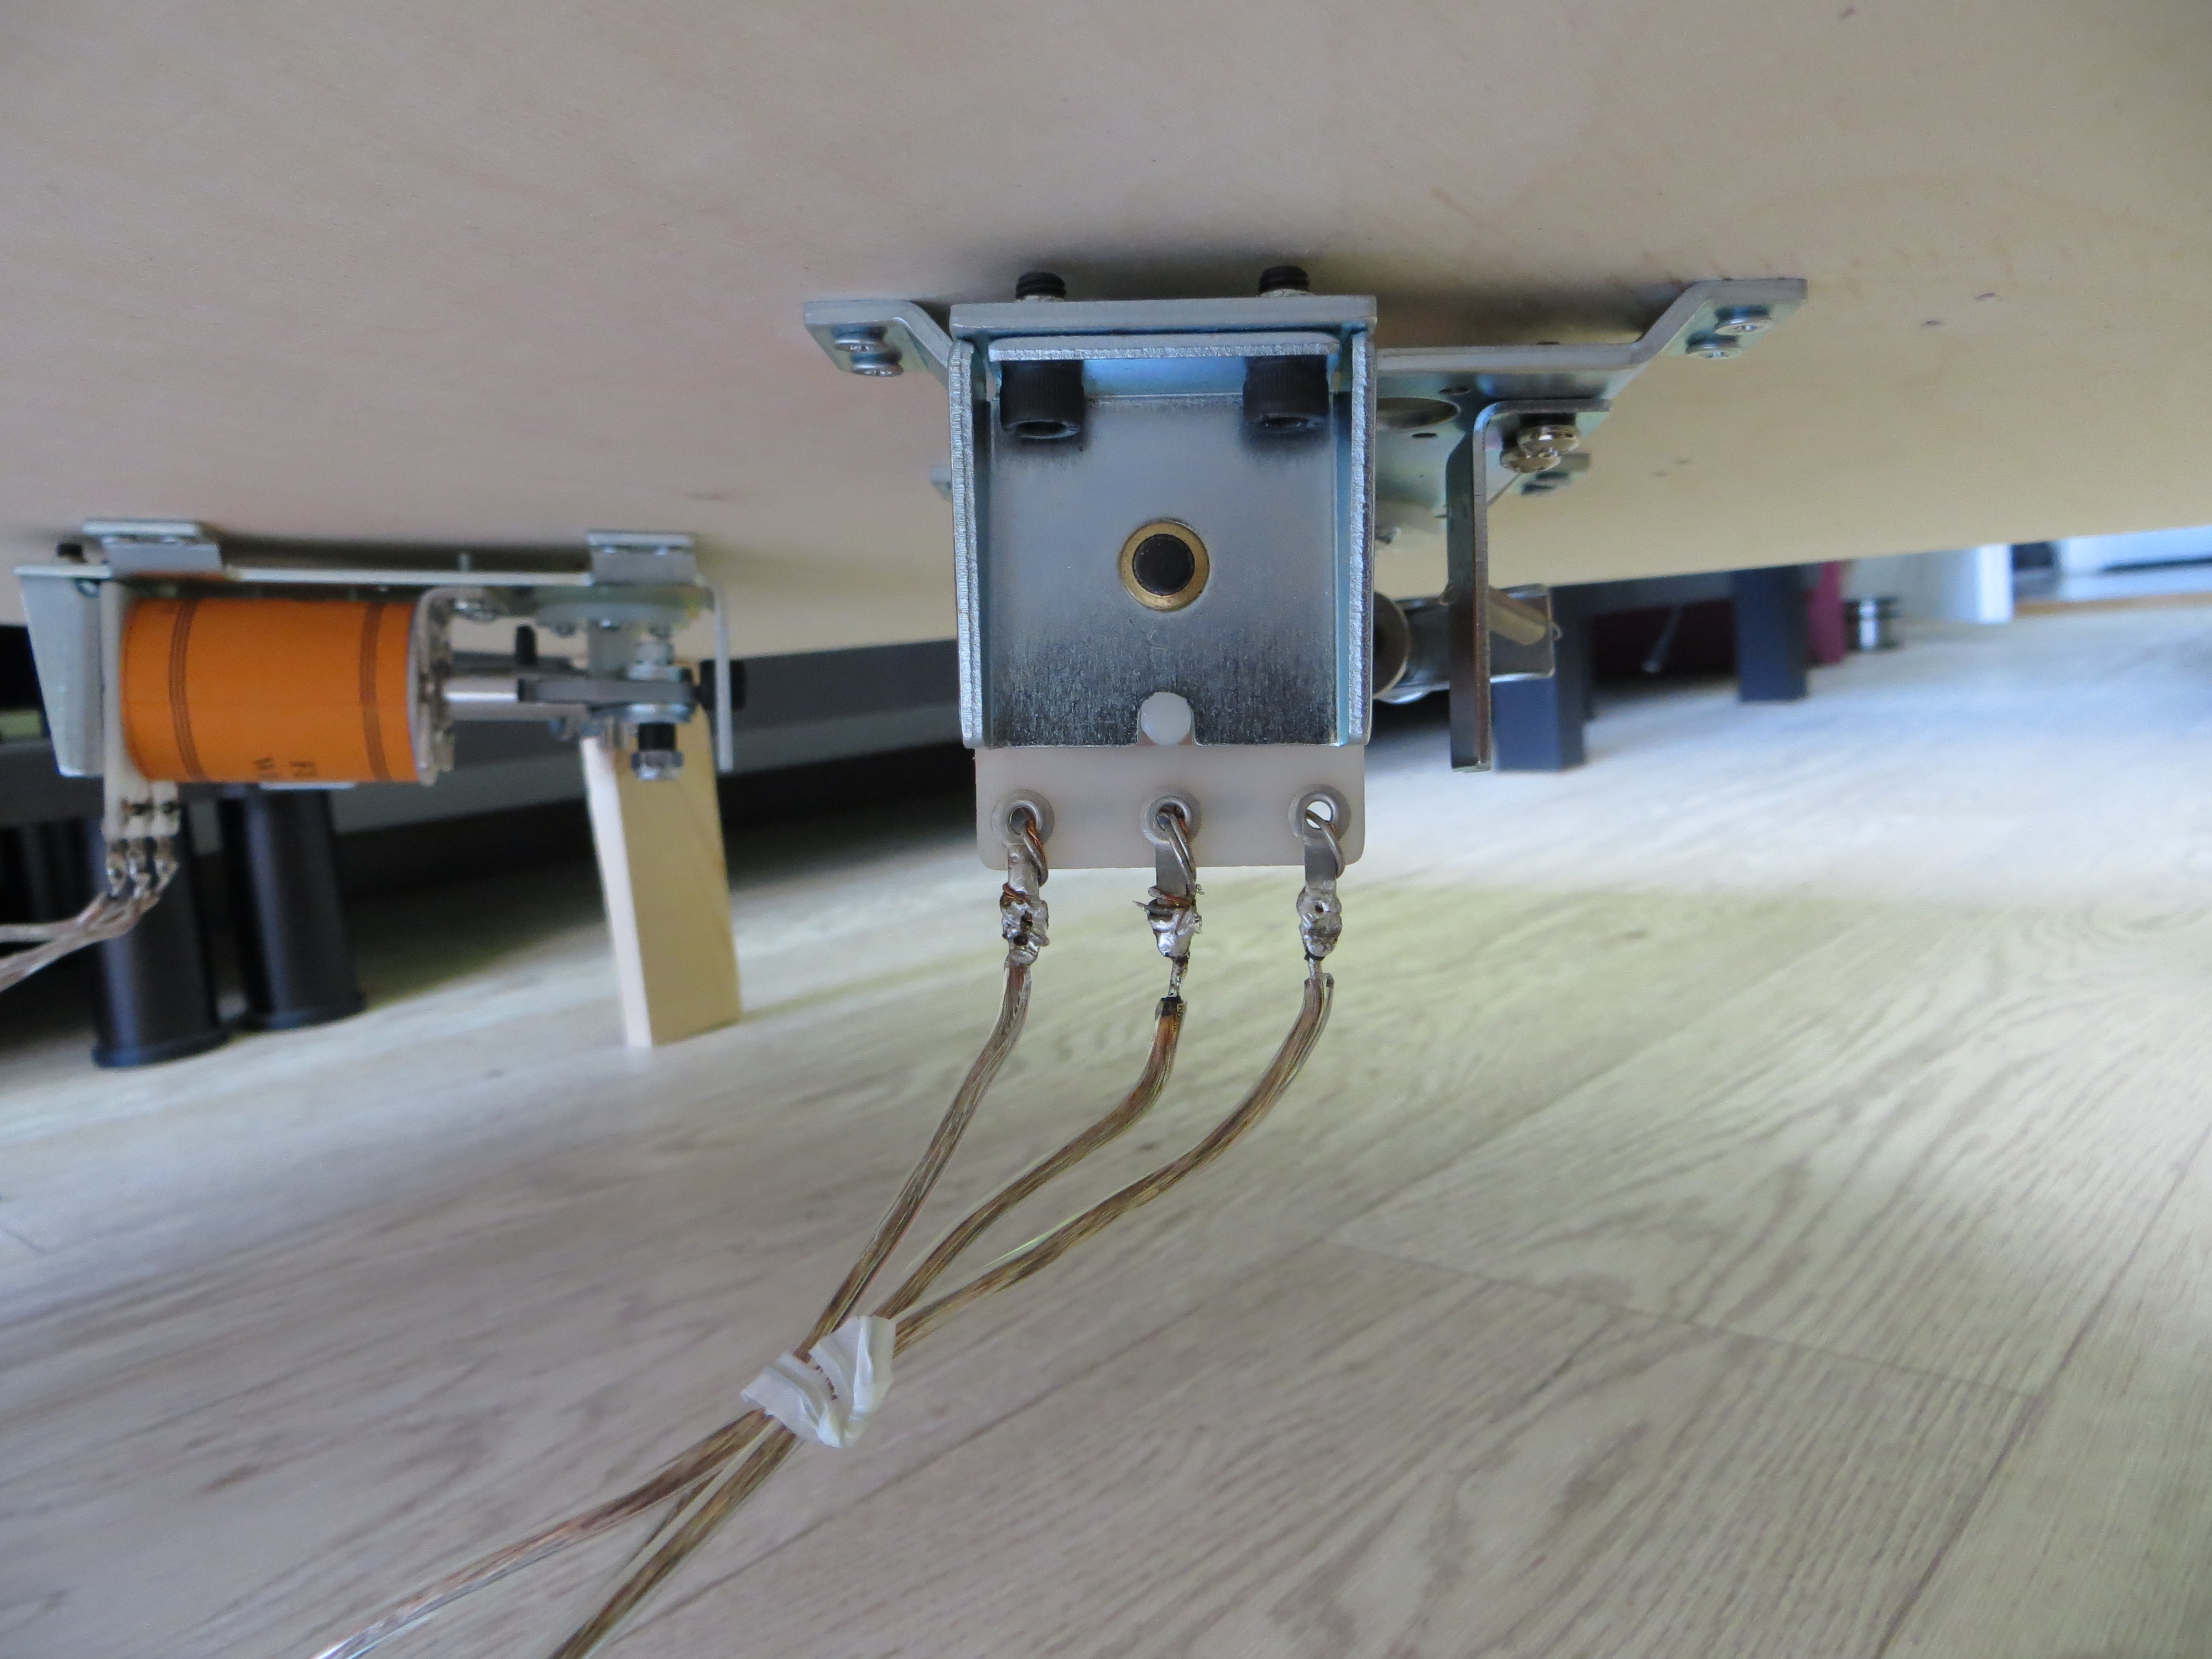
The following image shows a picture where the power cables are soldered to the flipper coil.
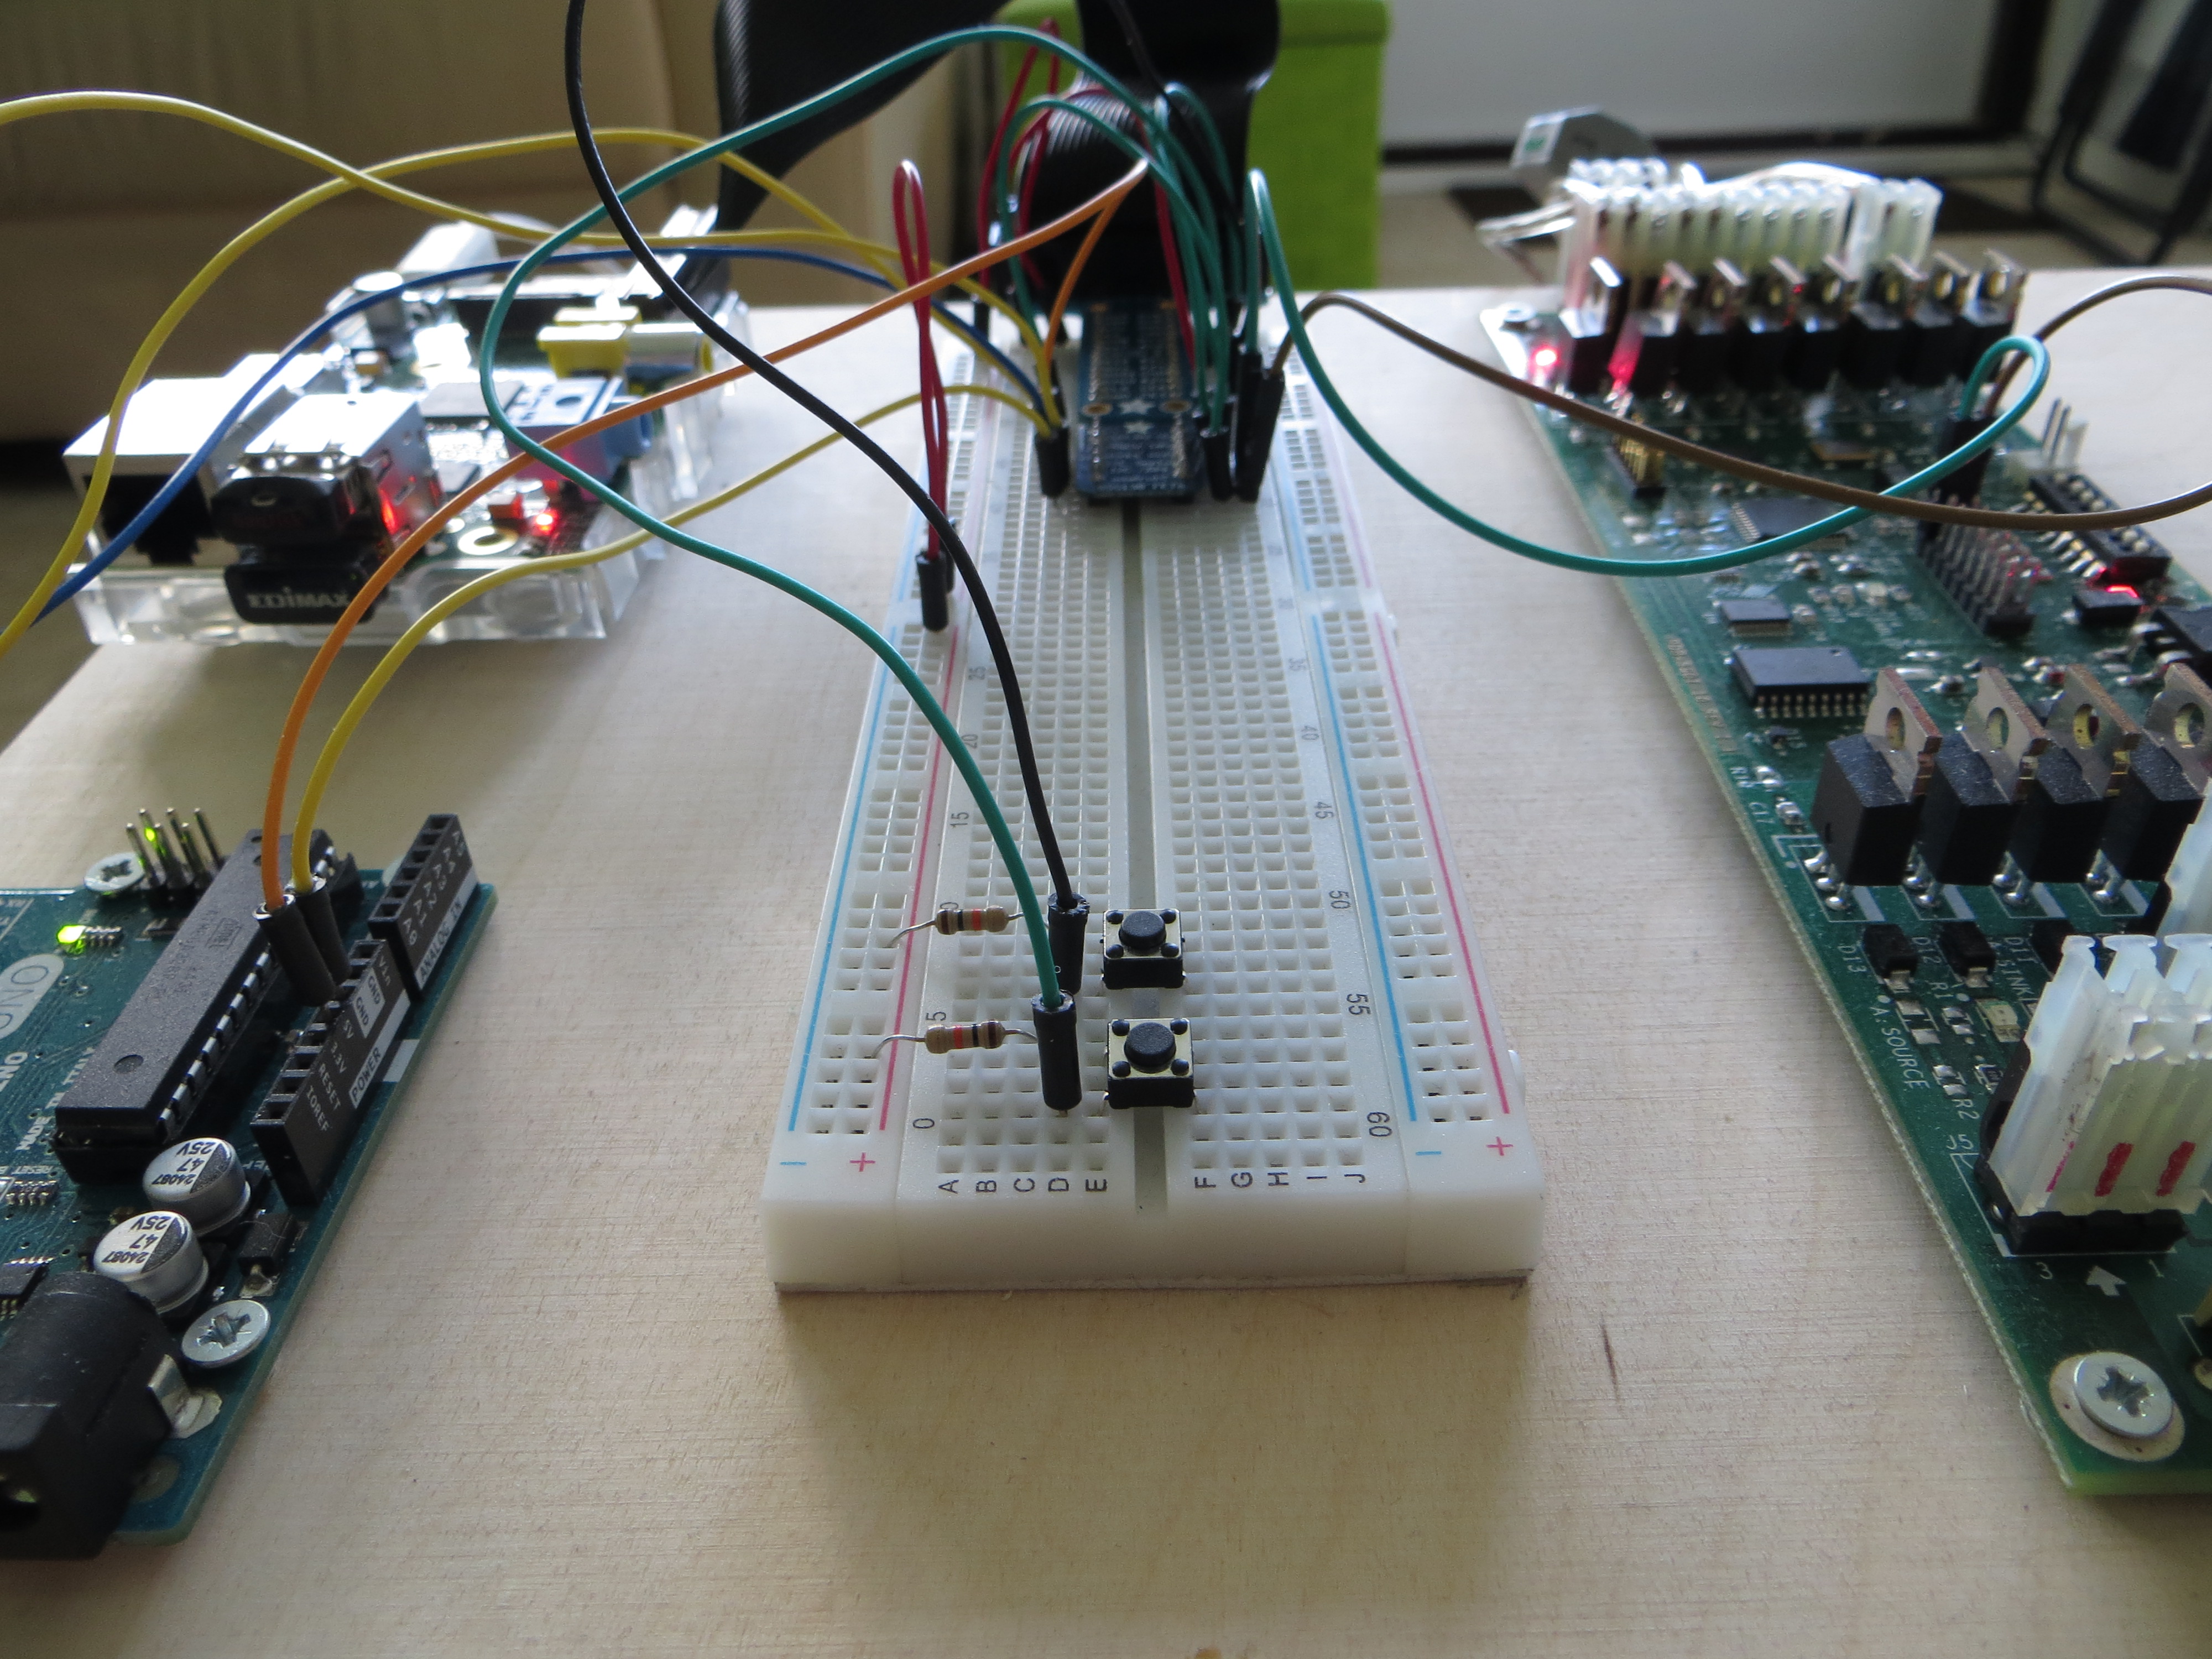
Close-up on the cables. Notice that the flipper coils are connected to the powerdriver bank on the top-right. Also notice the beta/prototype flipper buttons (but they work!).
The following video shows the flippers in action on an empty playfield!